Sunday, August 8, 2010

Poor Girl Cooks: Zucchini Salad +an update!

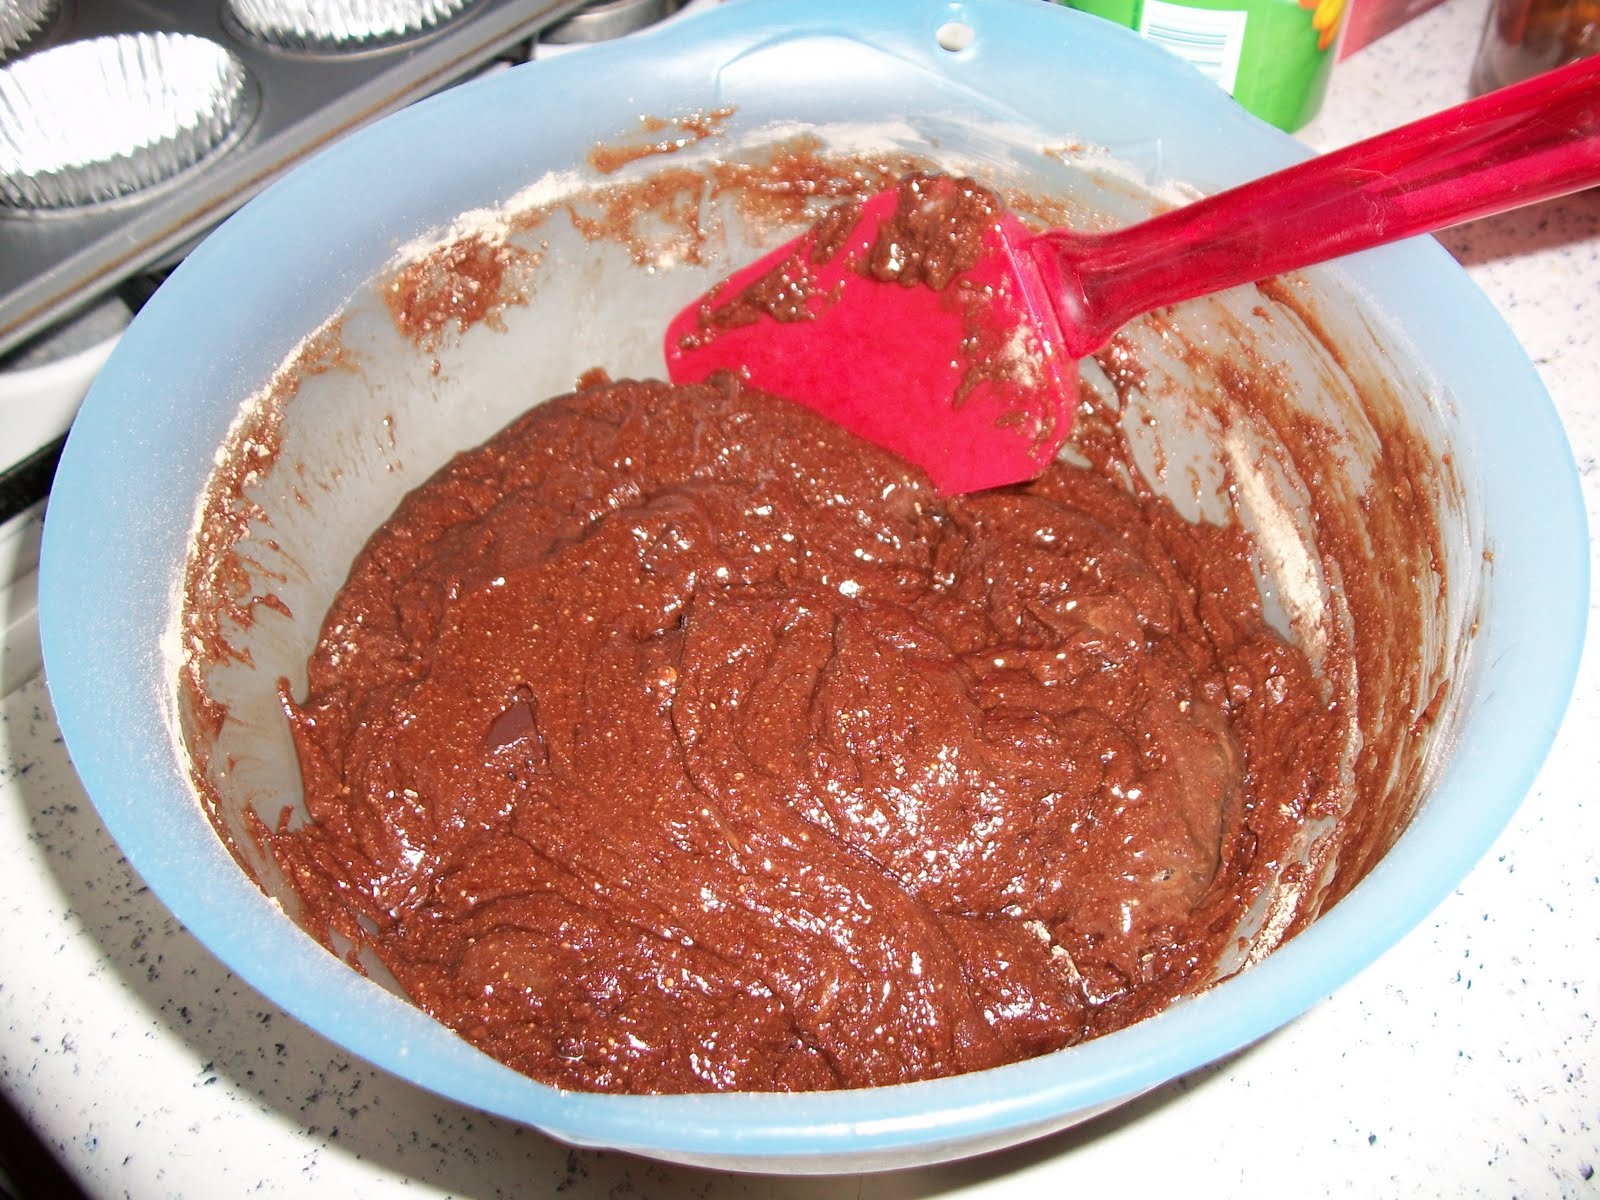
Okay, first of all, I have not been blowing off the blog. I've actually been diligently trying to figure out how to make macaroni and cheese from scratch at home. I want you to know that it was been a TOTAL FAILURE. Apparently basic things like muffins and cheese sauces are beyond my abilities. At any rate, I'm hungry, there's no dinner, and this was my backup plan.

I present: Zucchini Salad!


I feel like everytime I go to the farmer's market I find myself saying "Boy I really wish I liked zucchini" (or eggplant, but I'm not made of miracles). So I found a recipe similar to the one that I used on the internet (it's for more than just porn!) and set myself to chopping veg for about an hour while the macaroni and cheese was plotting my demise. It turned out very nice and colorful, except that I think I would use an orange pepper next time instead of green to help diversify the presentation.


It's delicious, a good way to sneak zucchini into the diets of those of us who believe the vegetable is good for nothing more than making chocolate cake. Cheers!

Zucchini Salad

3 small zucchini
1 red apple
1 sweet pepper
2-3 stalks of celery
1/2 packet of dried onion soup mix
3/8 cup white vinegar
3 tbsp olive oil
3/8 cup cider vinegar
salt and pepper to taste

In a small bowl, whisk together white vinegar and onion soup mix. Set aside.

Chop your produce and place it into a large bowl. Thoroughly whisk olive oil, cider vinegar, salt and pepper into the onion soup mix. Pour over produce and stir. Allow the salad to sit for about 4 hours in the refrigerator to allow the flavors to combine.

Obviously you could double this recipe to use up the whole soup package, but no two people can consume that volume of zucchini before it goes bad...so use your discretion.


In other news, here's a photo of horribly ruined macaroni and cheese!


Maybe the universe wants me to be vegan...

Friday, July 30, 2010

"The Last Month Sucked" or "Karma is cyclical, right?"

So I don't often do posts about myself, which I suppose completely defeats the purpose of having a blog, but I feel that many people out there need an update on what is going on over here besides the fact that Adam and I are eating far too many sweets. Well, it's summer in Rochester, which is not at all like summer was here last year, but rather crazy hot and super boring at work. Here are the highlights:

The Bad) I lost that career starting job that I managed to grab last year in DC. This was pretty much soul crushing.
The Good) Now I can go to grad school! This was something I was kind of bummed that I would have to miss out on, so I'm glad that I don't have a pesky career getting in the way (or that's what I'm telling myself).

The Bad) I never took economics in college, so I'm missing a hugely important pre-requisite for getting into graduate school.
The Good) U of R offers many economics courses and I've officially been working there long enough to earn tuition benefits.

The Bad) I will be staying in my abysmal job at least through December.
The Good) I'm staying because my office agreed to cover 100% of my tuition this Fall, as long as I continue to work for them through the end of the semester. That's about $3,000 they are shelling out to help me feel happy, so you have to give them a little credit for that.

The Bad) Some jerks ripped my porch to pieces and stole our new bicycles.
The Good) ...actually I'm not sure there is a good. Oh, they didn't manage to steal the package my grandmother sent me for my birthday, so I have a blender now! Never have I so desired adult blended beverages...

The Bad) We're having the hottest summer on record. This is not so great in a 400 sqft apartment.
The Good) My godparents generously donated the funds for Adam and I to purchase an air conditioner, which is A-FREAKING-MAZING. No really, it works wonders, and for once the tiny floorplan is paying off, since the little machine cools the whole house down in about 20 minutes.

So that's the two-cent version of what's happened to me since the first of July. I'm having a good time thinking that everything came out even, although there is still one day left for the month to wreck havoc on my outlook. Instead I'll sit here eating my grainy mac and cheese while waiting for my hair dye to set and hope that August brings much better times than its predecessor.

Cheers all.

Friday, July 23, 2010

Poor Girl Cooks: Gluten-Free Peppermint Patty Brownie Cupcakes

Okay, first of all, my GOODNESS have I discovered the most delicious gluten-free brownie mix. I first made these cupcakes good ol' wheat flour style from scratch, but they sort of turned out like chocolate mint hockey pucks and even Adam would barely eat them. So I thought about my problem (almost 100% sure I'm over stirring, which we all remember from the epic blueberry muffin failure that didn't get posted) and realized that perhaps I should just leave the brownie making to the professionals. I mean, they've had years to make it idiot proof, right? And to that extent, why not use the gluten-free brownie mix so that everyone could enjoy them? And that is what brings us to this concoction.

When I go on baking sprees, it is really best for me to go to the grocery store by myself and stare at the gluten-free flours so that Adam doesn't get all antsy and unhappy. I went in search of brownie mix, obviously, and the store had a few brands but this is the one I selected:

What drew me to this particular mix? In all honesty, it was the only one at Wegman's that did not claim to be dairy free. They all said that they contained real chocolate chunks, but dairy free chocolate isn't my favorite thing. Plus, I was just going to put candy in the middle of them anyway, so dairy free was sort of an abandoned principle from the beginning.

This mix was just as easy to use as any ol' off the shelf brownie mix (although about 3 times as expensive). You add an egg and some oil and some water and ...

...(barely) stir it all together. No really, I went around the bowl only 26 times (yes, I counted) and really, it could have used a few more rounds but I wasn't really in the mood to flirt with danger.

You add one spoonful of brownie mix to each cup and then lightly push a mini peppermint patty (York patties are certified by the FDA to be gluten-free) into each one, then top with more batter. I had to stretch my batter pretty thin, but it made exactly 1 doz cupcakes.

Now here's my shortcoming and something I hope you can understand: These were so amazingly rich and fantastic that I never got a good picture of the presentation. No really, they were that awesome, we ate them without a thought of preserving their image for the world. I did get this quick action shot with my cell phone during lunch the following day, but that's all that remains of the legacy:


Gluten-free peppermint patty brownie cupcakes
adapted from The Crepes of Wrath

1 package of Pamela's Gluten-free chocolate brownie mix
1 egg
1/2 cup of oil
3/8 cup of water
12 mini peppermint patties
12 foil cupcake liners (optional)

Preheat oven to 350 degrees. Prepare brownie mix according to instructions. Line cupcake pan with foil liners (or boring paper ones if you are no fun at all). Place one small spoonful of batter into each cup. Press an (unwrapped, duh) patty gently into each cup, just getting the batter to settle. Place an additional spoonful of batter on top of each patty, being sure to cover the whole thing. Bake for 10-14 minutes or until the cupcakes look done on top (err on the moister side of things). Enjoy and share at your discretion. Makes 12 cupcakes.

Sunday, July 18, 2010

Poor Girl Cooks: Ultra Rich Chocolate Ice Cream

Let me start off by saying that my favorite chocolate ice cream in the whole world is Breyer's Chocolate. My parents raised me exclusively on Breyer's, so I started out pretty biased, but recently they've reworked the recipe and it is utterly fantastic. No seriously, go try some, you'll agree.

So in order to be consistent with my nature, I decided to take a good idea and try come up with it myself (I was taught too much Mathland as a child). Anyway, I don't like custard-based ice creams, I wanted a nice Philadelphia style, and for this I turned to David Lebovitz, who is (I've been told) the guru of all things frozen, desserty, and chocolate. Brilliant! So I borrowed a recipe off of his website and gave it a whirl. And then it dealt that favor right back to me...

So first, you heat up some milk and some cocoa on the stove. Regrettably I only had Hershey's cocoa, I think next time I'll use a nice Ghirardelli or something...

Whisk for approximately 300 years while it comes to a boil, then let it simmer while you frantically remember to open and chop the chocolate.

Momma taught me right. Kill the heat on the pot and stir in the chocolate bits until it is delightfully smooth.

Then add the other half of the milk and a splash of booze (shouldn't everything have a splash of booze? [hey, I'm legal, stop your judging]) and stir some more. Then put it in a bowl and chill it overnight.

And I mean it, CHILL IT OVERNIGHT. If you only chill it for a few hours, like Mr. Lebovitz suggests, you'll be doomed to return to your ice cream maker to find a very cool liquid at the end of the churn cycle! And then you'll weep on the inside for lack of chocolately goodness, and you'll taste it and find it bitter, and the whole world will come crumbling down! Or at least, that's what happened to me, but it's been a rough week.

To fix the ice cream (not the week, that's beyond repair) I added about an additional quarter cup of ultrafine sugar and about half of a cup of extra milk. I figured this was safe because the recipe only yielded a quart anyway, and my ice cream maker makes a quart and a half. Surprisingly enough I was right, big shocker to us all, and when I finally churned it again 24 hours later it came out quite well. It's a little gritty, which is to be expected after using sub-par cocoa (Lebovitz suggests running it through a blender prior to churning to help with this, but some of us don't own a blender), but it is the ultra-rich, slightly bitter taste of the Ghirardelli melted into good milk. You could adjust the recipe for sweetness depending on your tastes, but really, I think I like it this way.

Ultra Rich Chocolate Ice Cream
adapted from David Lebovitz's Chocolate Sherbet

2.5 cups of milk (use your preferred fat level)
3/4-1 cup of ultrafine sugar
pinch of salt
1/2 cup unsweetened cocoa powder (one that you really like and could drink)
4 oz bittersweet or semi-sweet chocolate, chopped
1/2 teaspoon of vanilla extract
1 Tbsp of liqueur (he suggests Kahula, I only had rum, creme de cacao would probably be good too)

1.) In a saucepan, warm half of the milk with the sugar, salt, and cocoa powder. Bring to a boil while stirring constantly, then reduce heat and simmer for 30 seconds or so.
2.) Remove from heat and add chocolate, whisking constantly until smooth. Then add vanilla, liqueur, and the rest of the milk. Stir to blend and taste for preferred sweetness (and run through blender if it tastes grainy), then chill in the refrigerator for at least 24 hours.
3.) Freeze according to manufacturer's instructions.

Yields 1-1.5qt

Saturday, July 17, 2010

Poor Girl Cooks: Instant Chocolate Ice Cream

Now don't get me wrong, I'm very wary of anything labeled "instant". In fact, the recipe doesn't even call itself that, but the process was so quick and simple that ---


Well look at that, it finished while I was talking. No exaggeration here folks, you'll honestly have chocolate ice cream in around 20 minutes using only two ingredients. The texture is average, the flavor is below what I desire (more on this in a later post), but it delivers exactly what you would expect: a quick bowl of cold chocolatey goodness. And so I present:

Instant Chocolate Ice Cream
found all over the internet and in my ice cream maker manual

1 package of instant chocolate pudding (the 3.9 size or whatever the small box is)
2 cups of whole milk

Mix the pudding powder thoroughly into the milk. Pour into your ice cream maker and follow the manufacturer's instructions. No seriously, that's it.

Saturday, July 10, 2010

Discussion Time: Perfect Honey Vanilla Ice Cream

So let's start you off with a little eye candy...

Or should I say "eye ice cream"? That doesn't really flow the same though, nor carry the same connotations. Hopefully you get what I'm saying anyway, right?

Okay, so I recently came into the ownership of an ice cream maker by rather top secret means. I remember my mom's from when I lived at home and she always made the BEST ice cream with it, and since I rarely prefer plain flavors I definitely had kitchen-tool envy. Now that I have my own, I've had the opportunity to test run it through two radically different recipes, both to pretty great success.

First I made raspberry frozen yogurt with chocolate chips. It sounded like a really great idea and marginally healthier than the standard ice cream. The recipe called for me to use some sort of magic to get all the seeds out, but since I lacked the magic tools I just went straight for the punch and used whole raspberries, greek yogurt, a touch of sugar and some mini chips. The flavor that resulted was INCREDIBLE, it was like eating a fresh raspberry with a little yogurt and chocolate stuffed into the middle, except that the seeds were almost unmanageable. I guess these recipe writers sort of know what they are talking about....

But we aren't here to discuss frozen yogurt! We are here to discuss my most favorite ice cream of all time: Honey Vanilla. I was first introduced to this two years ago when Haagen Das released their "Save the Honey Bees" version of their recipe (and seriously, go save the honey bees, it is REALLY IMPORTANT OKAY??). They have the advantage of selling it in those little pint size boxes, but I wanted to make a giant quart and a half! In true hipster fashion, I also decided to make it with the freshest ingredients possible just to see if it would make a serious difference.

Honey
I'm a pretty serious honey snob, I travel to apiaries all around the area to find the best to treat my allergies, I brave the largest farmer's market in America to talk to beekeepers, and it drives me nuts when bottles are sealed and I can't smell the honey before I buy. That being said, I had a type of honey that I really wanted to use from an apiary about two hours away, a summer blossom 2010 harvest. I bought the bottle that gave me the original honey-gasm at the farmer's market downtown (which yes, really is the largest in America and is SCARY) and so I figured I could also buy some at the local co-op. I was WRONG. Instead, I settled for the next closest thing, a wildflower honey from a much closer farm. Of course the bottle was sealed (those jerks), so I just had to trust that it would be comparable. When I got home and opened it up, I found it far inferior and stuffed it into the back of the cabinet for use in my tea. Then I took a few deep breaths and committed myself to the inevitable: I would have to use the remains of my favorite bottle for this ice cream. So I did, and boy was it the right decision! What lovely aromatics, what perfect smoothness and light flavor! Ah if only all honeys were made with such care, perhaps more people would fall in love with them...

Fresh Cream
In addition to using the best honey, I also wanted to try using the freshest cream. It seemed to make sense at the time, because then it would let through the clearest honey notes (did I mention the obsession with honey?) and finish cleanly on the palate, maximizing the overall experience. Again at our co-op, they sell same day cream from the closest dairy at amazingly good prices, so I went ahead and picked up a pint to use for this recipe. When I opened up the tiny adorable bottles, it was everything I expected: lovely creamy aroma, smooth pour, a little extra fat bits stuck to the rim. It heated up well and didn't form that sticky top layer when it cooled, it seemed I was in cream heaven. Then came time to put it into the ice cream maker. I'll probably never know if it was the fault of the cream or perhaps the weather, but it took more than two full cycles with the ice cream maker to get that stuff to set. Still, it was possibly the best smell to ever fill my house, so I was very hopeful. I spent all day at work thinking about the bliss I would find when I came home and I barely made it in the door that night before dishing myself out a bowl. And let me tell you, a choir of angels came down when that first bite hit my tongue. And the second bite! And most of the bowl! Until I suddenly realized that something was a bit off. It felt like the ice cream wasn't sitting quite the same way in my mouth, wasn't going down as smoothly as it was before. And then I realized....my mouth was coated in a layer of milk fat! A gritty, sticky, stubborn layer of nastiness! The only explanation that I can come up with is that perhaps the fat content of my cream was actually a bit too high and next time I shouldn't be quite so ambitious in purchasing the best that I can find.

However, this was still an amazing experience and it is taking a good amount of self control to not eat this ice cream for three meals a day. The recipe also includes some milk and vanilla, so I used the milk in my fridge and bought the only vanilla I could afford, but I figured the key ingredients were fresh enough to overlook this. I highly recommend this recipe to anyone who loves honey or ice cream, it will change your life.


Gordon says "My mommy is crazy but I love her anyway!"


Perfect Honey Vanilla Ice Cream
Adapted from Maison du Miel's Heather Honey Ice Cream Recipe

2 cups of heavy cream
1 cup of whole milk
1 vanilla bean
2/3 cup of really good honey

Combine all ingredients in a saucepan and warm over medium low heat until little bubbles form around the edges. Remove from heat and let come to room temperature for at least one hour. Find the vanilla bean and remove it, cut it in half lengthwise, and scrape the pulp into the cream mixture. Add the pod back in and chill the mix overnight in the refrigerator. Remove and stir take out those pesky pods for good, then add mixture to ice cream maker and complete according the manufacturer's instructions.

Sunday, July 4, 2010

Poor Girl Cooks: Bell Pepper and Edamame Salad

So lest my mother suspect I am only capable of cooking desserts, I have decided to feature my favorite summer salad today. This recipe originally came to me as a black bean salad recipe, but since I'm not the world's biggest bean fan and I couldn't get Adam to eat the original recipe, I've adapted to greatly to cater to our tastes and make it a little bit lighter in the belly. This has also worked out well because we've had one of the worst heat waves in the history of EVER, so minimal work is very important...

First off, pick yourself up one of those three pepper packs from the produce section. For some reason it is cheaper to do this than to purchase the peppers individually, and I'm all about saving money. You can also include a green pepper if you like, but I don't, so these are the three that I'm going to use.


I should also mention that this is not taking place at my house, but rather at Adam's parents' house, as they had extended their hospitality and washing machine to us for the day.

First of all, Carla BLEW MY MIND but showing me a super secret and extra efficient way to deseed these lovely peppers. I'd always cut the stem out and cut them in half and dug the suckers out, but apparently if you just chop the top off you can just grab them all from the get go! What a fantastic revelation! Anyway, dice those babies up and throw them into a bowl....

So pretty! Our red pepper ended up being gross in the bottom and we had to throw most of it out, but it's okay. Salads are never exact, right? Add to that half a bag of frozen corn and half a bag of edamame (not in the shell kids, let's use our logic here). Toss it with the dressing and let it sit until the frozen veg is slightly less frozen. Then dice up a firm avocado (not crazy firm, just easy to work with), stir in and you are ready to serve!

Totally delicious, I could eat this every day. And the in-laws like it too! I served it with the delicious enchiladas, I'm pretty sure they'll let me marry into the family now...well, hopefully...

Bell Pepper and Edamame Salad
adapted from my mom's black bean salad

1 red bell pepper
1 yellow bell pepper
1 orange bell pepper
1 avocado
1/2 bag of frozen corn
1/2 bag of frozen out-of-shell edamame (soybeans)

2 Tbsp olive oil
2 Tbsp rice vinegar
2 Tbsp of honey
3 cloves of garlic, crushed/diced
1 tsp cumin


Dice your peppers and put them in a pretty bowl. Stir in the corn and the edamame. Whisk together dressing and pour over, stirring thoroughly to combine. Right before serving dice avocado and stir in. Goes surprisingly well with Mexican food.